
This was written with the use of PSP X5.
You may recreate it any version of PSP.
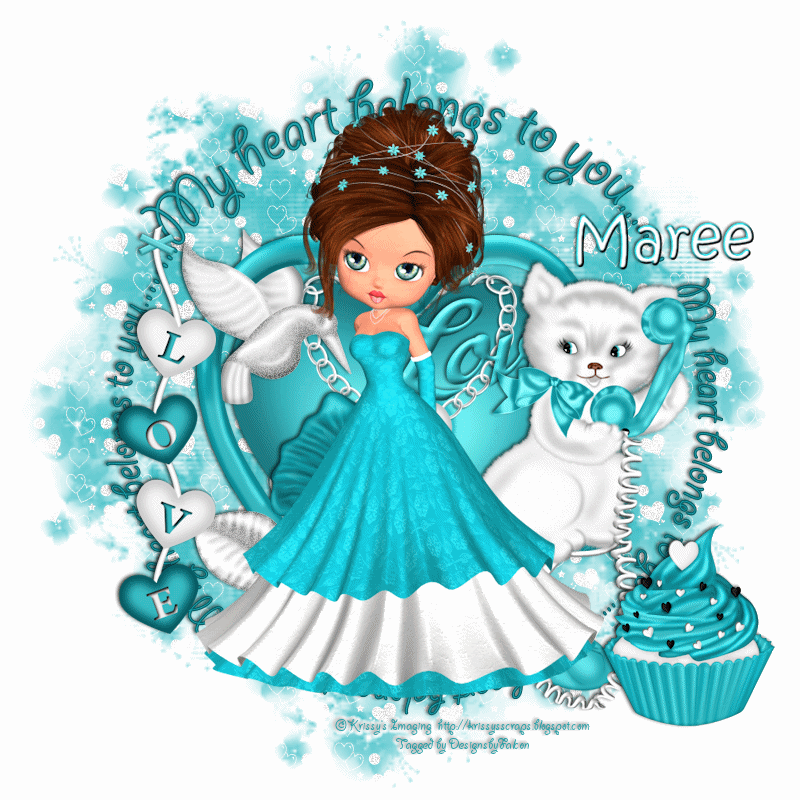
PTU - A Tiffany Valentines created by Jen- SleeknSassy Designz
You can purchase this beautiful kit at Scrappindollars.
Artwork of ©Krissy's Imaging
These are included in Scrapkit-Tiffany Valentines
Font of choice
Mask- MBandSW_34 by Moonbeams and Spiderweb
Lokas Software- 3D Shadow
Lokas Software- 3D Shadow
Animation Shop
New transparent raster layer 800 x 800.
You can resize or crop later.
Open your animation shop, we will create the animation first.
Open all ©Krissy's Images in Psp.
Now we are going to copy and paste them in this order in AS,
Select 5copy paste into AS as a new animation.
IN psp copy 1 then click back to AS and paste after current frame.
Repeat this in this order Dolls..3,6,,2.
Once you have completed this select All Ctrl+A.
. Minimize for now.
Back in Psp click on Preset shapes and select Ellipse shape, draw out a large circle.
Objects-Align-Center in Canvas.
Click on your text tool I used Giddyup Std click on the outer edge of circle you will see the
text symbol and I used these words My heart belongs to you or something different if you want.
Click on the bottom circle layer close it out, now you will only see your text.
Convert layer to raster.Give your wordart a drop shadow, I gave mine a 3D shadow of 30.
Convert layer to raster.Give your wordart a drop shadow, I gave mine a 3D shadow of 30.
Add a new layer above your background layer select all open AVT_Paper8
copy paste into selection.Deselect.
copy paste into selection.Deselect.
Then apply your mask Merge group.
Open ATV_Element10 copy paste as new layer move down slightly within wordart.Add a drop shadow.
Open ATV_Element44 copy paste as new layer place over heart see tag.
Select your selection tool select the end of the flower stem the right click on layer Promote
Selection to layer. give both layers a drop shadow.
Open ATV_Element61 copy paste as new layer. Image Flip Horizontal then resize 85 percent.
Move it to right of layer so it appears to sit on flower stem.Add a drop shadow.
Open ATV_Element8 copy paste as new layer resize 75 percent move to left of layer
add drop shadow.
add drop shadow.
Open ATV_Element17 copy paste as new layer resize 75 percent then move to bottom right
of layer then a add drop shadow.
of layer then a add drop shadow.
Flood fill your background layer #ffffff.
Add your Artist © and your name.
Now we will animate the tag.
Animation
Make sure you activate the Propagate button.
In Psps Edit Copy-Copy Special click into AS paste as new animation. Ctrl+L to duplicate layer
4 times you now should have 5 layers, select all layers (Ctrl+A)
On the animation we made earlier, Edit- Select all (Ctrl+A) click back onto the
background animation click on Frame 1 - Edit Paste Into Selected Frame
place it just of center to left.
background animation click on Frame 1 - Edit Paste Into Selected Frame
place it just of center to left.
Click on Animation-Frame properties change to 35, view your animation
if you want it slower than increase the number.
if you want it slower than increase the number.
Check your animation when happy save as a Gif.
If you need to resize do so now before saving.
Thank you for trying my tutorial, I hope you enjoyed it.
I'd love to see your results please email me Here
so that I can show them on my Blog.
Tutorial by © Maree *(DesignsbyFalcon) January 2013.
